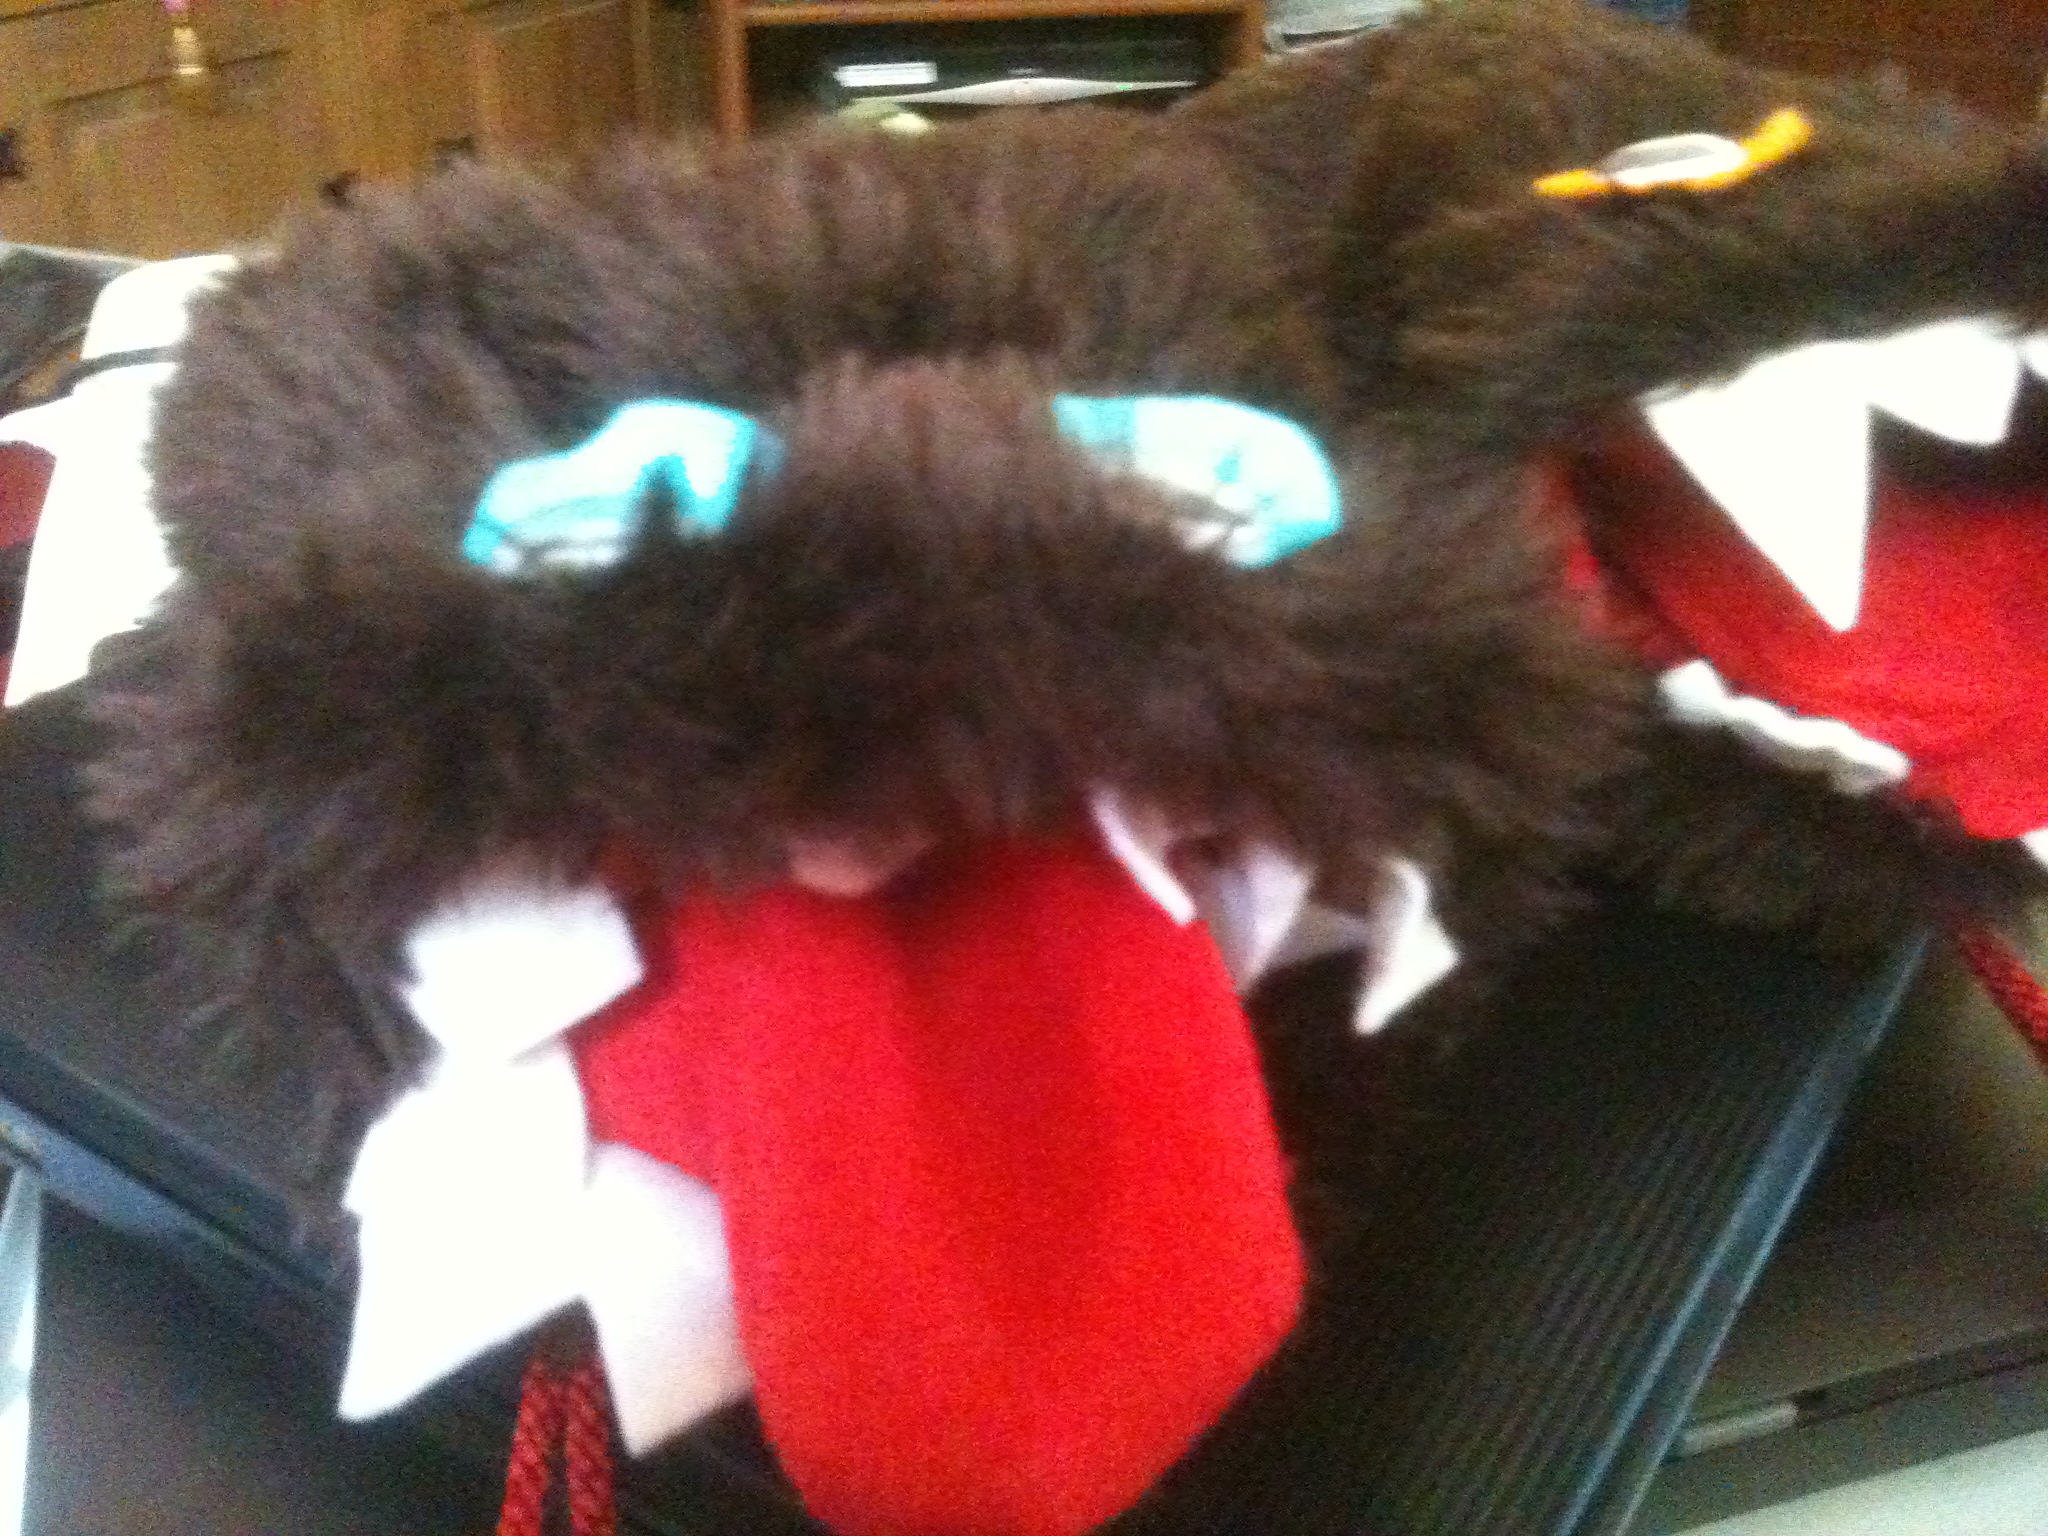
I loved the Firefly series and have been thinking about making a Jayne Hat for ages. Today I finally did
![IMG_1894[1]](https://dmwcarol.com/wp-content/uploads/2015/04/img_18941.jpg)
And since I’ve been asked for instructions here’s how I did it.
You need a ball of red, orange and yellow wool. I just used cheap basic DK because I am a cheapskate and was just playing around but posh stuff would probably make it nicer.
I used 6.5mm needles. If you’re so inclined you could use dpns and knit in the round, but I just went with what I had handy.
Start with the basic hat.
- Using the orange wool. Cast on 70 stitches using whatever cast on method you like.
- Knit 4 rows of K1 P1 rib
- Switch to stocking stitch and keep going until you have about 4.5 inches of knitting.
- Switch to yellow and continue in stocking stitch for another 3.5 inches
- Start the decrease – k5 k2tog, repeat to end. P next row
- K4 k2tog, repeat to end. P next row
- K3 k2tog, repeat to end. P next row
- K2 k2tog, repeat to end. P next row
- K1 k2tog, repeat to end. P next row
- K2tog, repeat to end.
- Cut your wool leaving a fairly long tail, thread through the remaining loops and pull tight – use the tail to sew together the seam as far as the orange, use orange to sew the bottom part.
- Now you need to add the ear flaps – The flaps want to be about half the width of the hat (a quarter each) Find a point half way down each side and using the red wool pick up stitches evenly either side of that. You want to pick up 17 stitches so 8 either side of your central point.
- Knit about 3 inches
- Knit/Pearl together the first and last two stitches of each row until you have just three stitches left. Cast off leaving a long tail. Thread through an extra piece of red and tie the strings together to leave three dangling strings
- Make a pom-pom from all 3 colours and attach to the top of the hat. I find wrapping the wool around the prongs of a large fork easiest but it doesn’t really matter how you do it.
- Weave in all the ends.
And that’s it. Your cunning hat is now ready to wear.
![IMG_0272[1]](https://dmwcarol.com/wp-content/uploads/2015/04/img_02721.jpg)
![IMG_0273[1]](https://dmwcarol.com/wp-content/uploads/2015/04/img_02731.jpg)
![IMG_0274[1]](https://dmwcarol.com/wp-content/uploads/2015/04/img_02741.jpg)
![IMG_0275[1]](https://dmwcarol.com/wp-content/uploads/2015/04/img_02751.jpg)
![IMG_0276[1]](https://dmwcarol.com/wp-content/uploads/2015/04/img_02761.jpg)
![IMG_0277[1]](https://dmwcarol.com/wp-content/uploads/2015/04/img_02771.jpg)
![IMG_0278[1]](https://dmwcarol.com/wp-content/uploads/2015/04/img_02781.jpg)
![IMG_0279[1]](https://dmwcarol.com/wp-content/uploads/2015/04/img_02791.jpg)
![IMG_0282[1]](https://dmwcarol.com/wp-content/uploads/2015/04/img_02821.jpg)
